Sunday, February 21, 2010

What do You See? Design is Everywhere


What do you see when you look at this image? Color, pattern, texture?

Do you see canyons and gorges?
Do you see a variegated yarn, used to create a sense of depth?
Do you see the use of a 'zing' color? the leaf green?
Or, do you see the use of shadowing, with more dark grey used in areas.

Hopefully, if you push, you can see more than the bark of a tree.

Saturday, February 20, 2010

Looking From All Angles


When I teach design, I try to encourage my students to look at their evolving projects from all angles. One never knows what they will see if they stand back, or change their position of reference.
As in most things, taking an extra few seconds will almost always lead you to a better place.

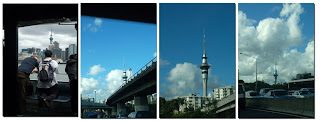
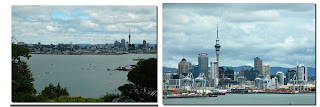
Below is an example, albeit, not a design project, but a bit of photography, where I was mesmerized by the Auckland Sky Tower, which is the tallest building in New Zealand. Standing 328 meters tall, it offers views for up to 80 kilometers in each direction.


http://www.skycityauckland.co.nz/Attractions/Skytower.html

In photogrpahy, as in the design of anything, if you simply stand and shoot the shot, without taking a few moments to walk around and view the subject from different positions, you are probably not going to get your best work.

Thanks to my wonderful hosts in Auckland, Noelene and John Fitzgerald, I was able to see the Sky Tower from various viewpoints, and I share some of the images with you below.

Click on these to see larger versions.


Friday, February 19, 2010

New Zealand Workshop: Beaded Necklace


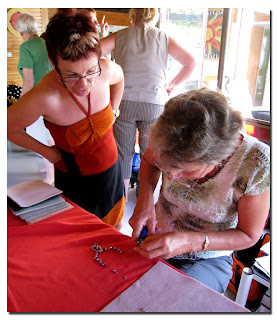
Laurel Judd taught us how to build a necklace using a metal template for the pendant and stringing beads for the necklace itself.

You can see Laurel's work on her site at www.laurel.co.nz/


The process begins by arranging beads in a ridged piece of metal. Once you like your basic layout (and it helps to take a digital image for reference before you remove the beads), you lay a little glue in the base and start to arrange your beads.
Then, you take the same blue and squeeze it over the entire surface of the beads. It will dry clear and serves the purpose of keeping all the beads in place, particularly those that are on their side, or are extended beyond the side.

Here you can see a group of pendants, and the final glueing process on one.

A close-up.

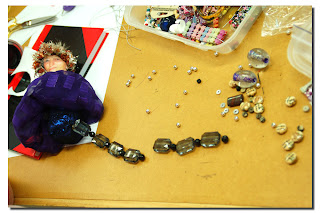
Now to the bead box, to choose the beads for the necklace strand.

You can arrange these beads anyway you like.

Laurel supervising the attaching of the clasp after all stringing is complete.

Some final pieces on Doreen, Janet, and Carol (left to right).


Yet another creative project and fashion statement. Thanks Laurel!

Irrelevance of Time

It amazes me to think about time. Especially when you can travel and arrive before you left. As an example, I left Auckland New Zealand, at 11 p.m. at night on February 13th, and arrived in Los Angeles at 2 p.m., seven hours earlier than I left. That is a distance of 6508 miles traveled in - 9 hours. Pretty amazing, yes?

Also fun, was the act of putting my foot in the Pacific, at both ends on the same day. Here you can see me standing mid-day on the beack in Auckland, my shawl blowing in the strong breeze. The water was quite warm.


.... and here you see me, with my feet in a slightly colder Pacific, in San Diego, California, shortly after I finally landed at home, at sunset, around 5:30 p.m.


If only we had these long days to pursue creative endeavors.

btw.. when asked how long the flight was, I generally respond with five to six movies. That is generally how I measure time when flying.

Monday, February 15, 2010

Workshop: Maori Flax Weaving


Bev led a workshop on the Maori art of Flax Weaving. In one morning, she had taught us how to choose the stalks of the New Zealand Flax plant, prep them, and weave or braid a variety of flowers.

As an instructor of Textiles, I found the process fascinating. It was much simpler than I expected, and Bev's instructions were thorough and clear. She recommended a book called Weaving Flowers from New Zealand Flax by Ali Brown. It is clearly illustrated and simple to follow. Check the web site for more information on the techniques at www.alibrown.co.nz


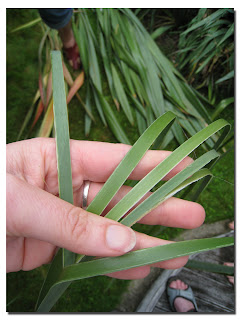
Here you can see Bev teaching us how to select proper stalks of the plant.

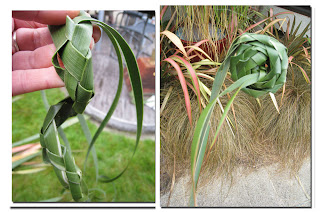
Now, we are seeing how to use your thumbnail to remove the spine and split the leaf of the plant into strips.

The split strips become warp threads for the weaving.

Below you can see the steps of weaving of a hibiscus. (I'm hoping my textile students can see this, as we just studied plain weave)

Here is the final Hibiscus.

Next we used a braiding technique used to create a Koru.

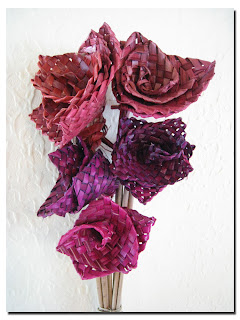
Next, is the technique for creating a rose.

and my final two flowers..

Below you see a bouquet of the various flowers I made.

One can dye the dried flax if desired, as seen below.

Here we have a bouquet that Bev made. Betty was the lucky winner in the raffle that was held.


This was a great workshop, and now that I'm back home, I'm planning to add a couple of more flax plants to my garden. I'll vary the colors so that my bouquets have greater variety. Thanks Bev for sharing.

Saturday, February 13, 2010

New Zealandese (the lingo of New Zealand)

I have learned many new words here in New Zealand…. And many of them make me smile… so, here is the short list following my little New Zealandese dissertation.

So.. Okey poke, I think I have become switched on. It was titivating. Soon I have to be shifting back to California, but before I go, I think I should have a cuppa. I had better not waffle about too much, nor should I fluff around. If I do, I might become vacant and possibly miss my flight. I’m packed and ready to go, so we will put my luggage in the boot, and I shall sit piggy in the middle on the way to the airport. I need to get rid of my schrapnel, so maybe I will buy a pair of togs or jandels. If I see a nice one, I might buy a sloppy joe. I think I have the route to the airport sussed. We are about to have tea, and I hope we are not having awful offal. I think a gob stopper might be fun, but it is a bit messy. Once I get home I can share the gos, and hopefully this hasn’t been too loopy.


If you want to understand the above… here is the translation guide.

Okey poke – a local prhase… we would say okey dokey
Togs – a bathing suit
Hot bread shop – the bakery
Shifting – moving (from one house to another)
OR a car moving fast, on the freeway, passing you
Suss it out – seek the information
Got it sussed – you worked it out
Good value – as in, she’s good value (a good person)
Titivated – working and reworking something
Quick unpick – a seam ripper
Tea – one of several mealtimes during the day. New Zealanders tend to eat up to five times a day (although several of these are only snacks, and are social
Smoko – the morning tea at 10, if it is the second tea of the day, or it could be an afternoon tea
Cuppa – ca up of (coffee or tea)
Chilly bin – a cooler for keeping food cool
Jandels – flip flops
Awful vs. offal – offal is the innards of an animal, so you must be careful with your accent when you say something is awful
Torch – flashlight
Bonnet – hood of a car
Boot – trunk of a car
Rubbish – trash
Clued up – to be made aware
Fluff around – muck around
Waffle – to go on and on and on
Vacant – nothing up there in the head
Piggy in the middle – when you sit in the middle seat in the back of the car
Gob stopper – a jaw breaker
Sloppy Joe – an oversized sweater
Schrapnel – loose change
Loopy – a bit crazy
Swtiched On – a person who is knowledgeable.
What’s the gos – what is the gossip
Trunderler Park – the shopping cart depot

New Zealand: More Alter-Ego Dolls


I have blogged about the alter-ego dolls before, but all that was in preparation for teaching my workshop in Napier, New Zealand. My turn to teach came, and the alter-ego girls were created. I don't know about the group, but the project for me, was a blast!

I had prepped sublimations of each workshop participant's face into a doll pattern, with a facial image (from photos that had been sent to me via email).

Each member of the workshop was given their pattern and basic instructions, and then all went to town!

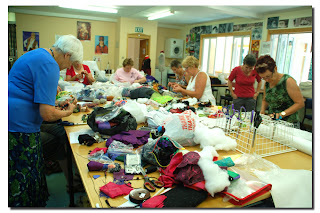
Here we have a shot of the group at work.

Here are several dolls whose bodies are complete, but they need clothing!

Carol is adding hair to her doll. She used a wig for her hair source!

Ginny decided to add some trim to her doll's skirt after it was made. The doll nearly squealed as it was taken to the machine and whirled around!

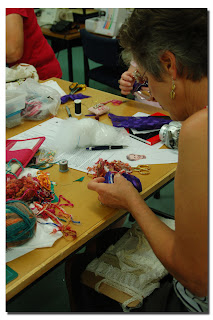
Here is Heather sewing.


Janet is adding the bead legs.

Laurel is adding her costume.

Here are some of the finished results

Friday, February 12, 2010

New Zealand Workshop: Reconstruction


Laurel Judd’s workshop was on reconstructing clothing. We began the project by shopping at the Op Shop (see photos from last week). Then we hit a bead store and a haberdashery shop to find all sorts of little things to use in our creations.


My project began with a pullover knit top and a sewn shell. Here they are. You can see that I cut off the sleeves of the pullover, shortened it, and cut up the center front.


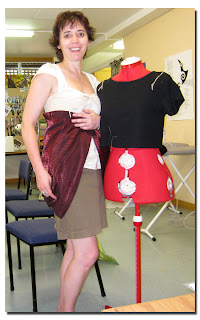
I then cut open the shoulder seams of the sewn top, turned it upside down. Here you can see me experimenting.

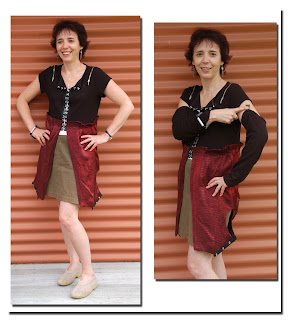
I then and stitched it as a 'skirt' to the bottom of the knit top. I also added a hook and eye tape to the center front, and stitched a snap tape to the shoulder seams of the burgundy top.

Here you have the result.


Now.. let's take a look at what others did..

Janet's jacket..adding ruffles to knit

Laurel's dress.. adding an inset and ruffle sections to a knit that was cut apart.

Doreen's top, still in progress, made of knit pieces

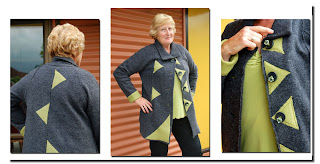
Carol's jacket, made by cutting up a sweater and appliqueing pieces of another sweater on top..

Bev's new dress, made by reworking one of her favorite skirts..

Alma's artsy top..

Ginny's two-piece ensemble working a skirt, top and scarf..

and mine.. during the final modeling. I have the option to add the sleeves which will be held in place by garters.


All in all, it was a blast!